

The default views
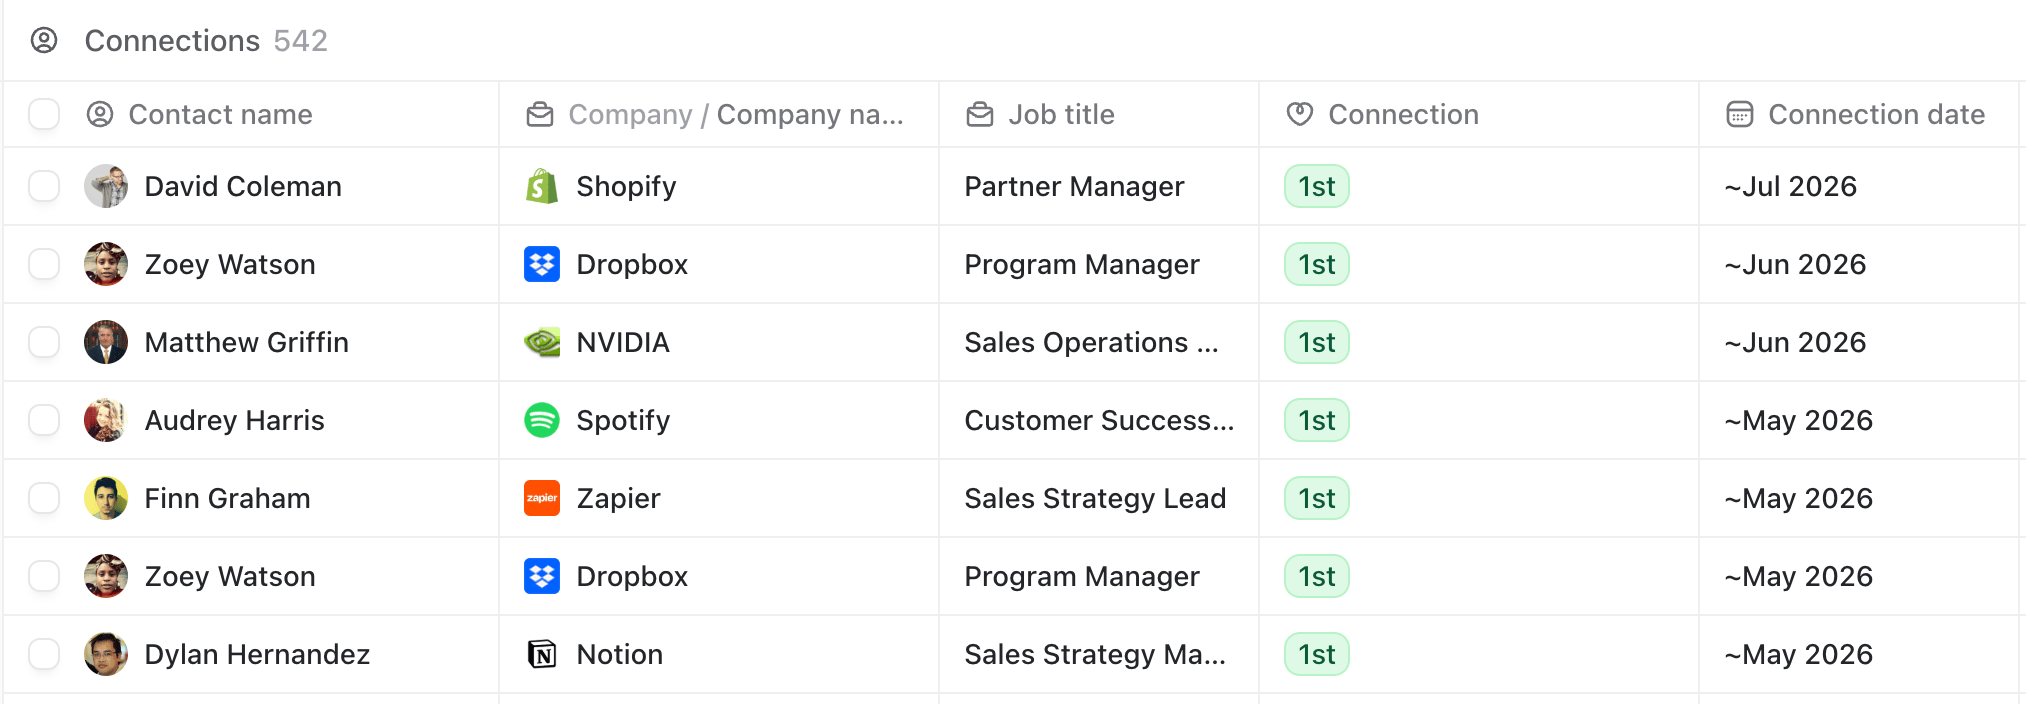
TalkToHumans comes with four contact views out of the box:- Connections
- Imported

- Invites
- Map
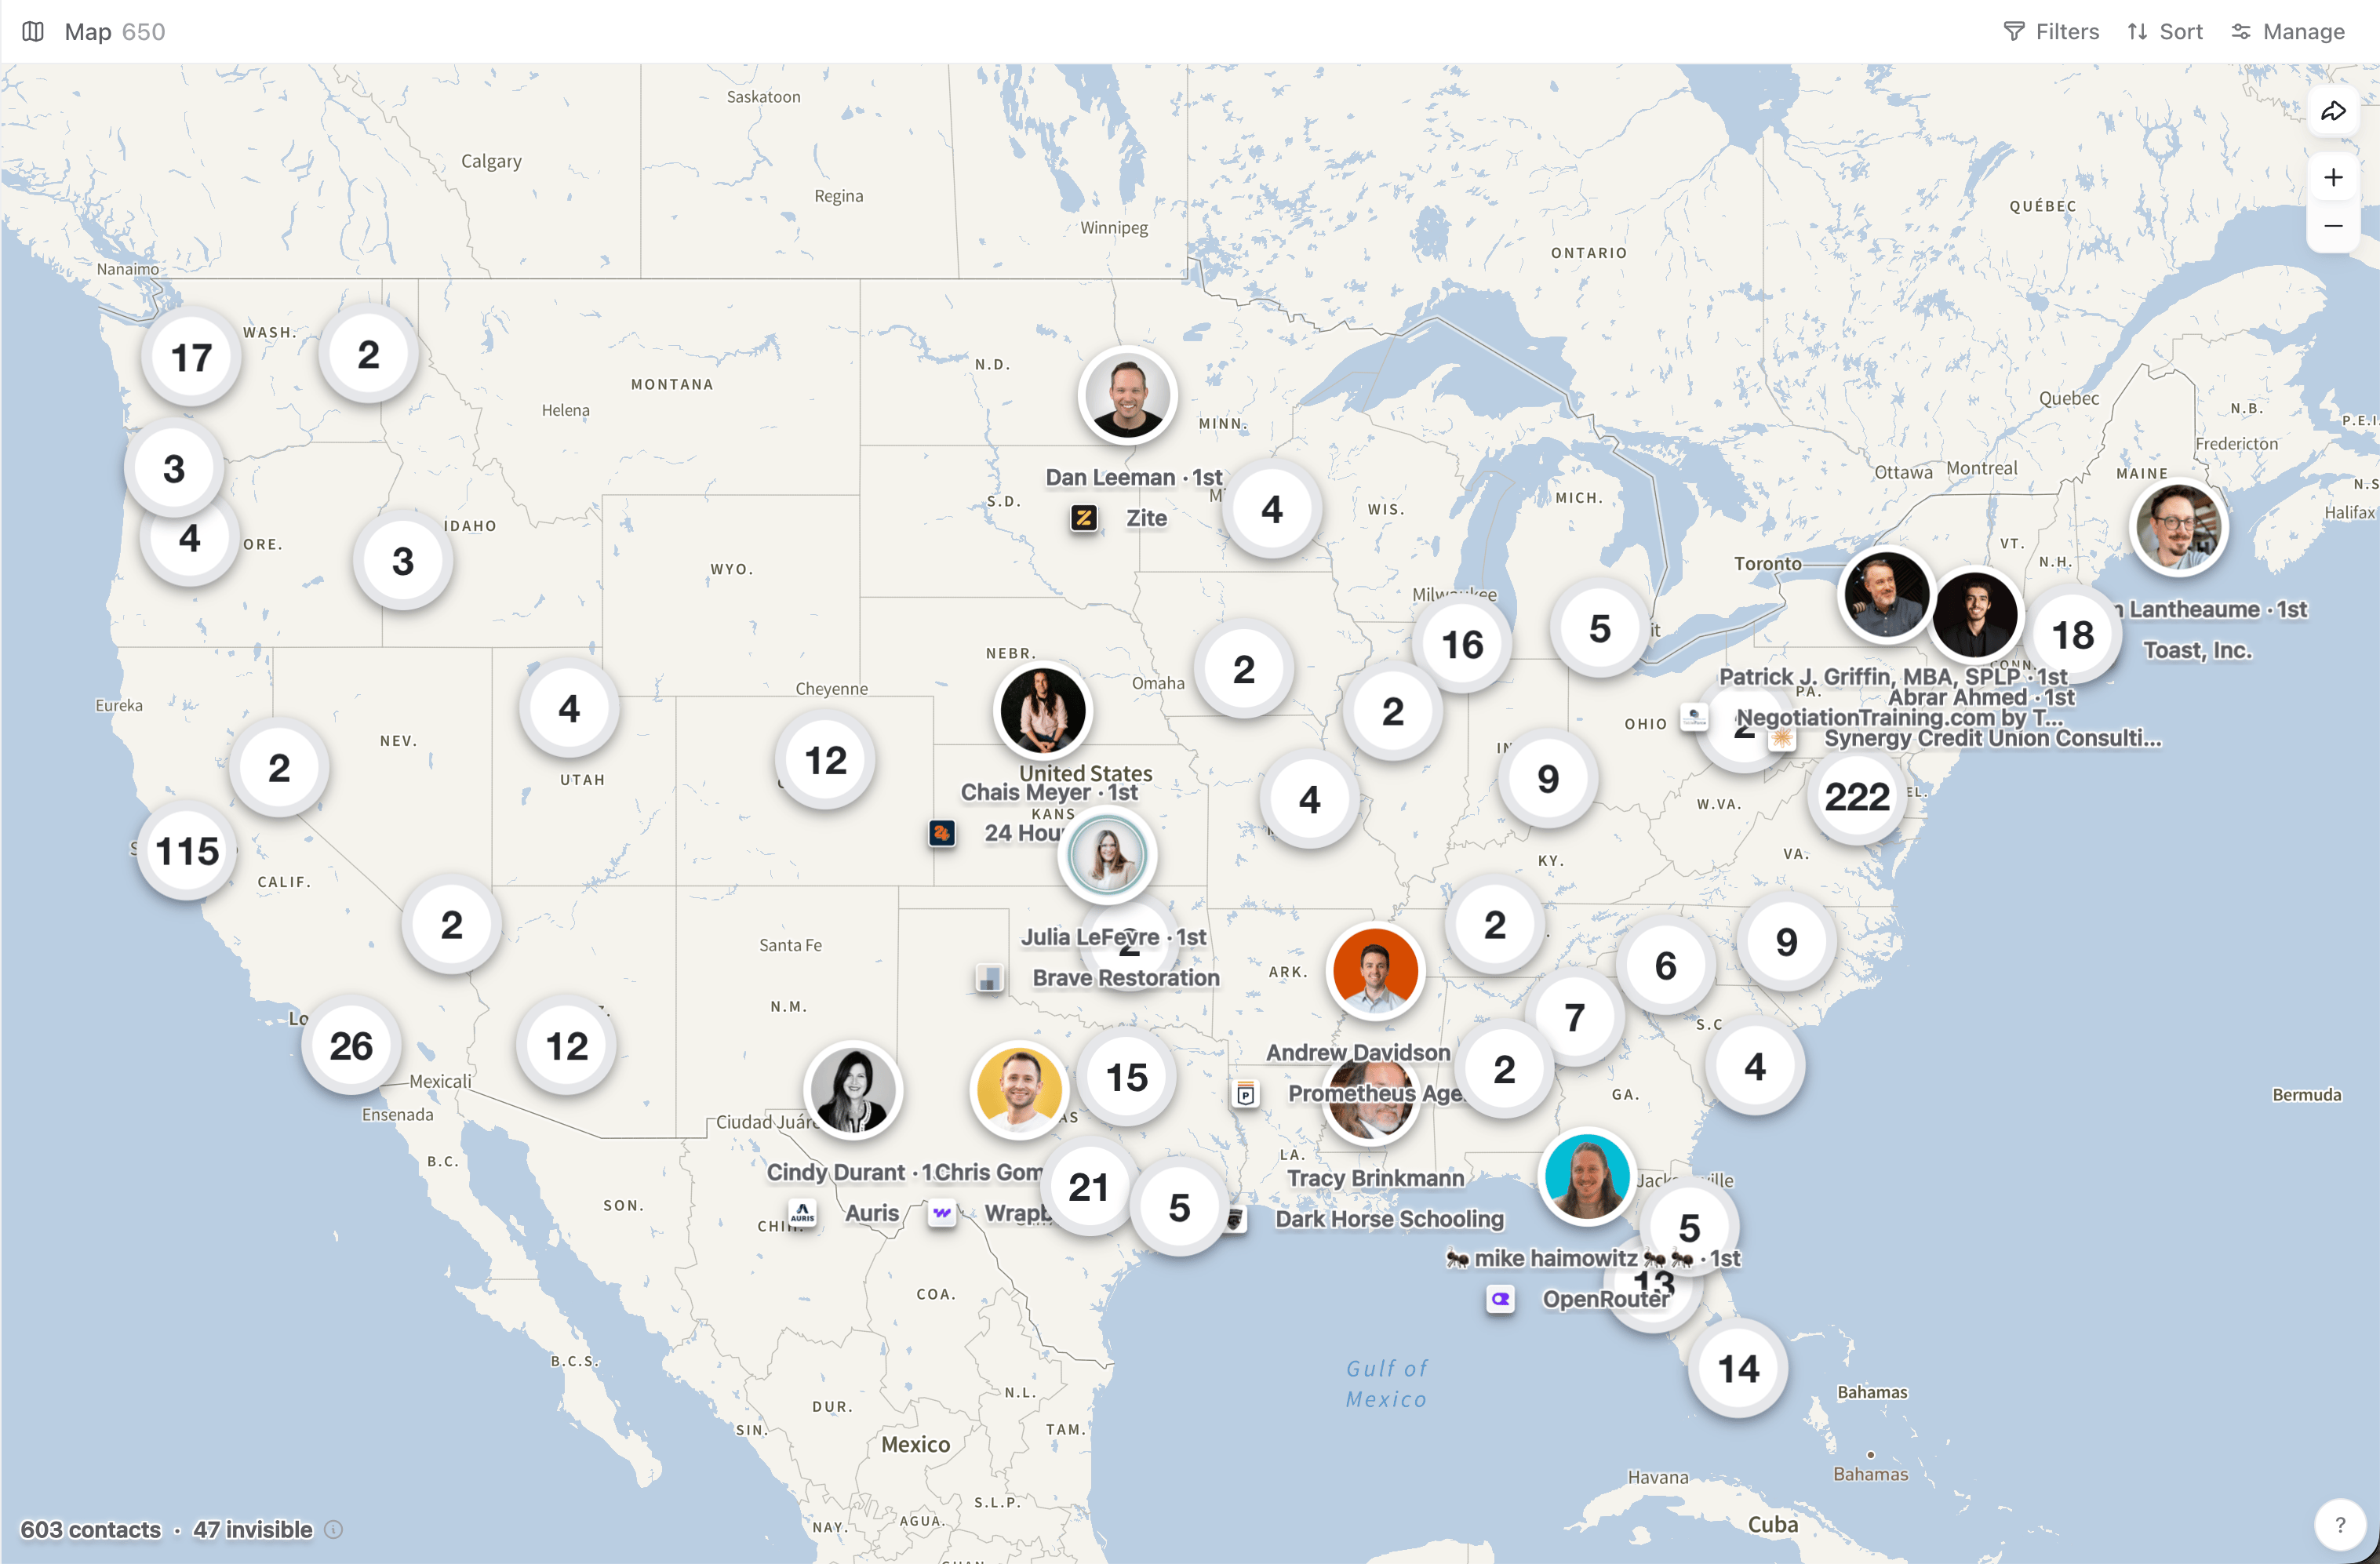
These defaults are starting points. You can edit them, duplicate them, hide the ones you do not use, or create your own.
Filter and sort a view
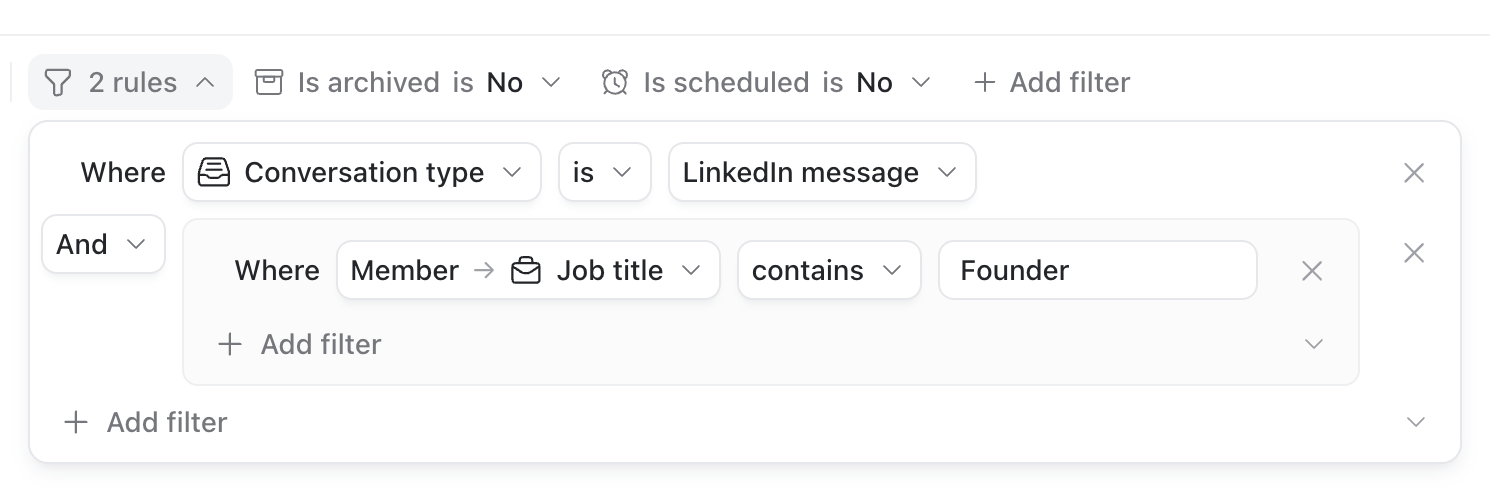
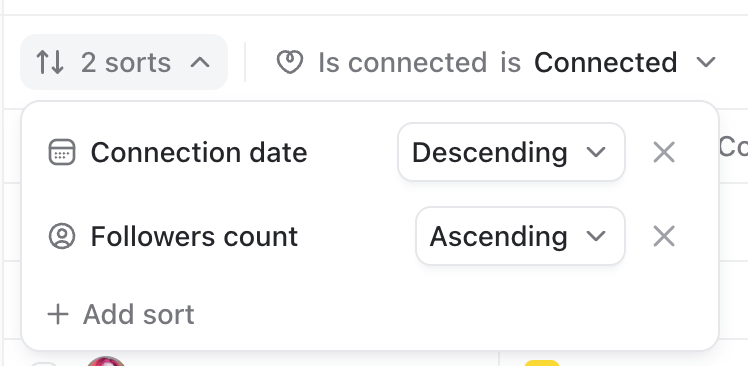
Open a view, then use Filters and Sort in the header. You can filter using contact, company, conversation, tag, or custom-field data.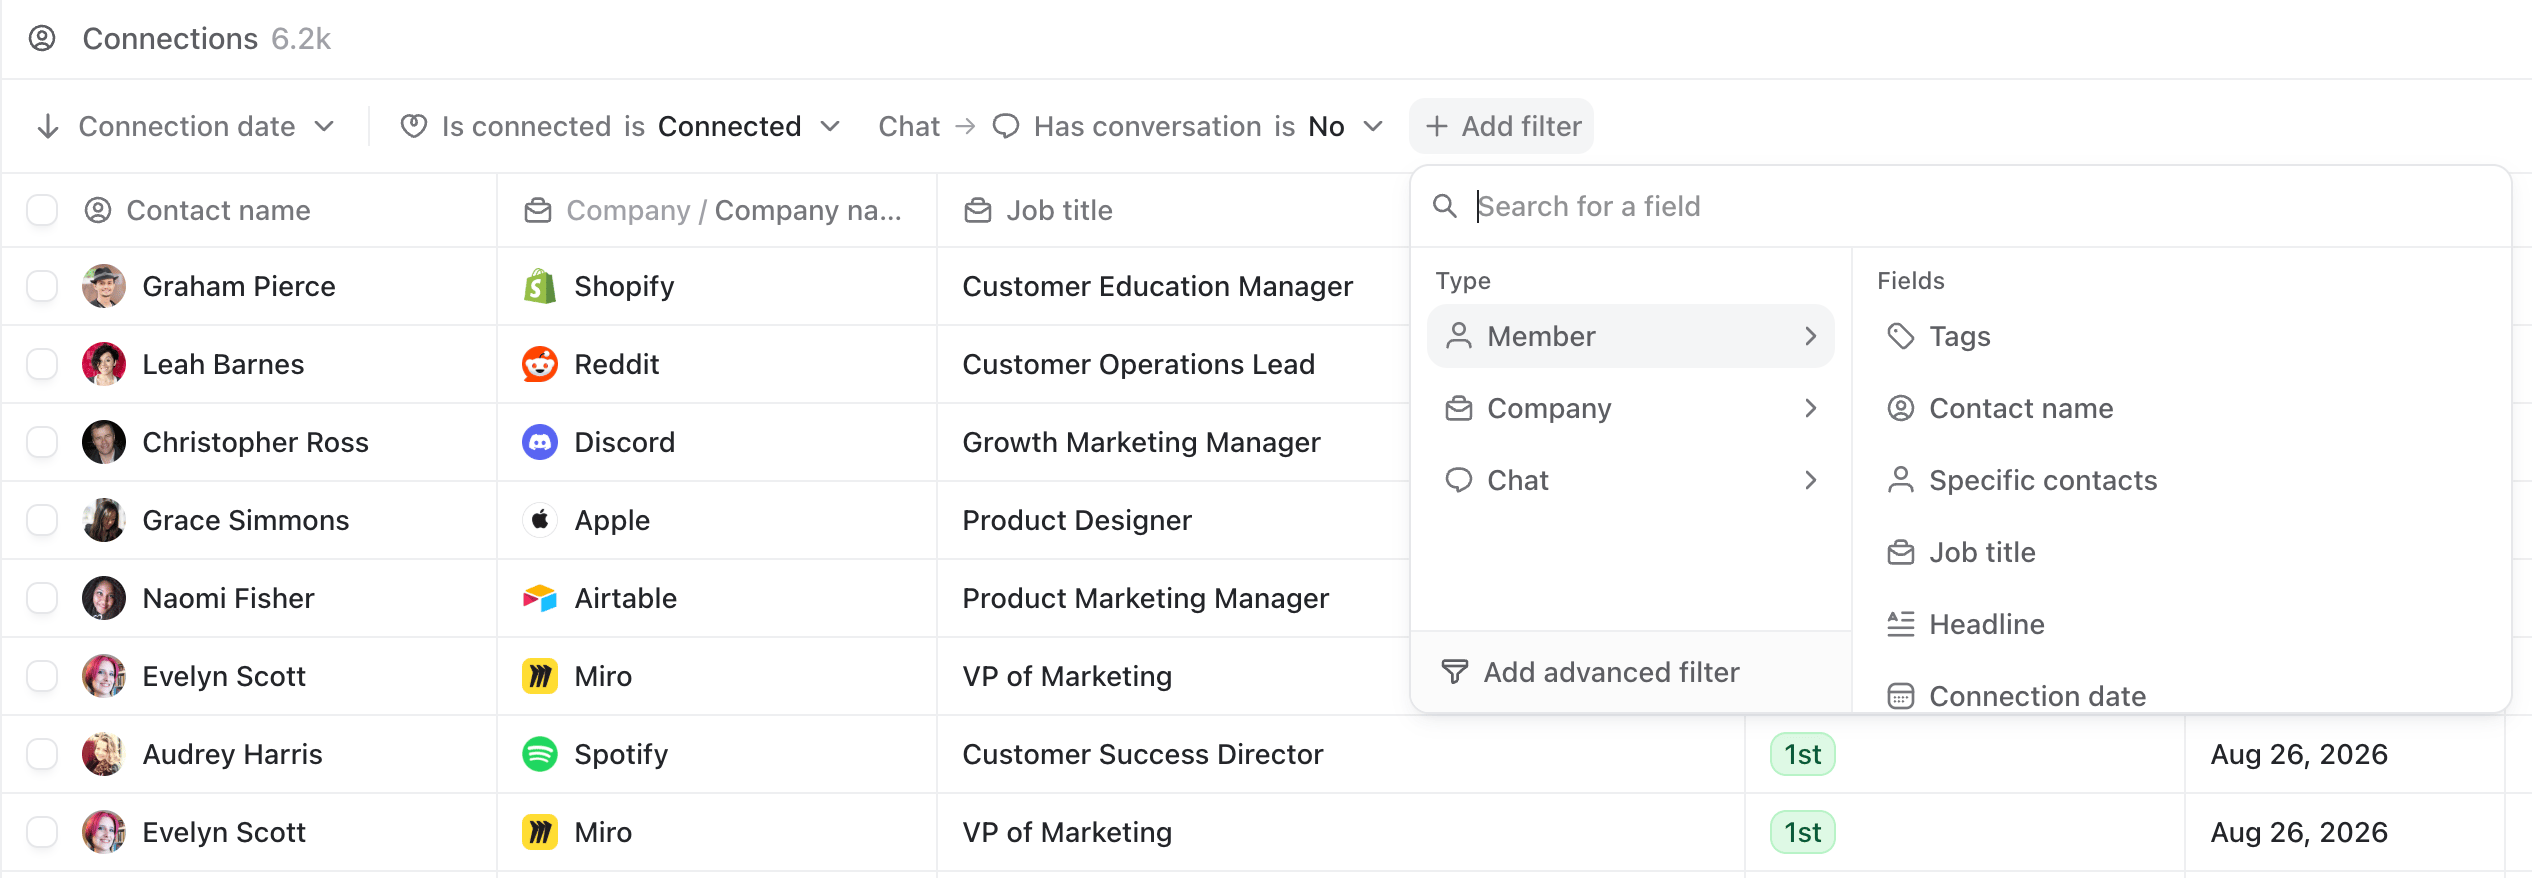
- Leads ordered by a custom ICP score
- Companies in a specific industry and employee range
- Connections in Paris tagged Warm lead
Choose which columns appear
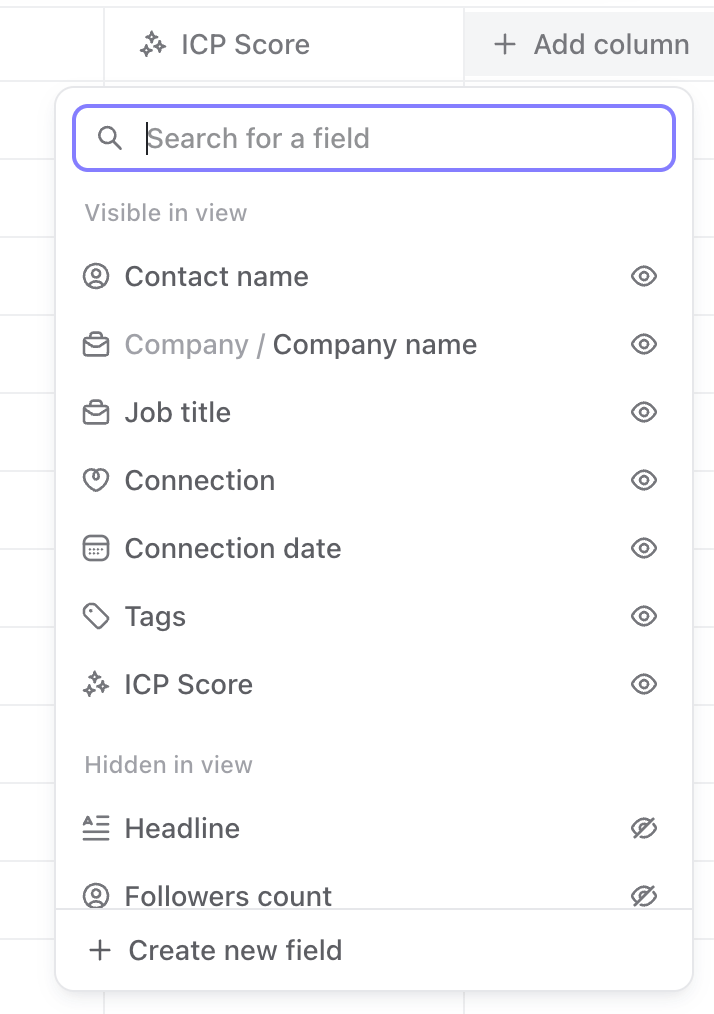
Every table view can have its own columns. Click Add column at the end of the table header. From there, you can:- Search all available contact, company, and conversation fields
- Show or hide columns
- Drag columns into a different order
- Create a custom field
Add your own fields
If the information you need does not exist yet, click Add column → Create new field. You can create text, number, boolean, or date fields for contacts and companies. The new field is added to the current view immediately, and you can also use it in filters and sorting.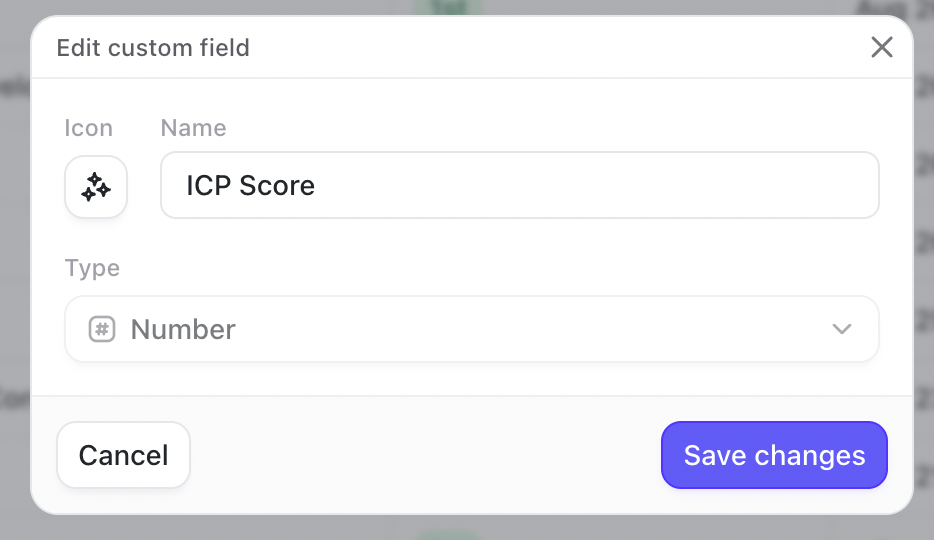
- ICP score
- Deal stage
Create your own view
Click Add view below Contacts or Companies in the sidebar, then click New view: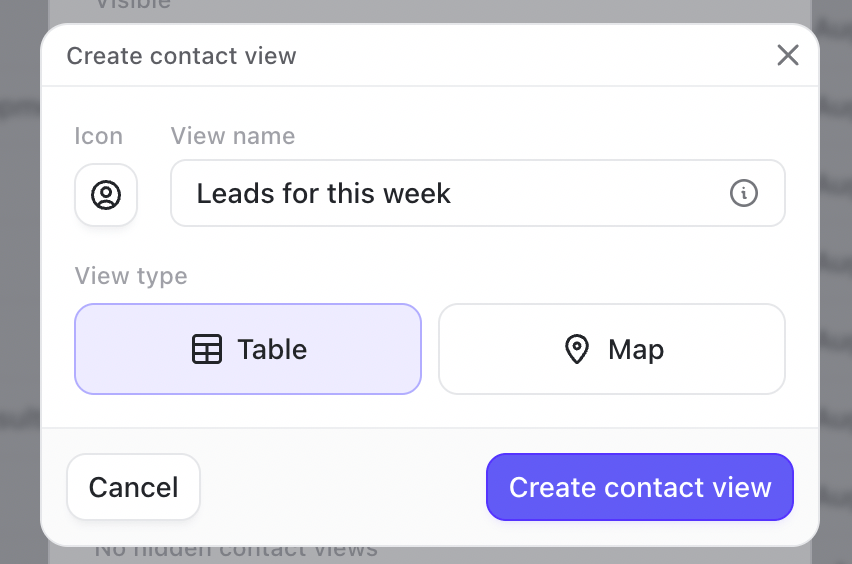
Pro tip: If an existing view is already close to what you need, open its menu and select Duplicate. Then change the filters, sorting, columns, or name.
Organize the sidebar
Open the settings beside Contacts or Companies to manage the views in that section. From there, you can:- Drag views into a different order
- Move views between Visible and Hidden
- Edit or delete a view
- Create a new one
Hiding a view only removes it from the sidebar. It does not delete the view or any contact or company records.
Work through a view as a queue
Click any row to open its contact or company sidebar.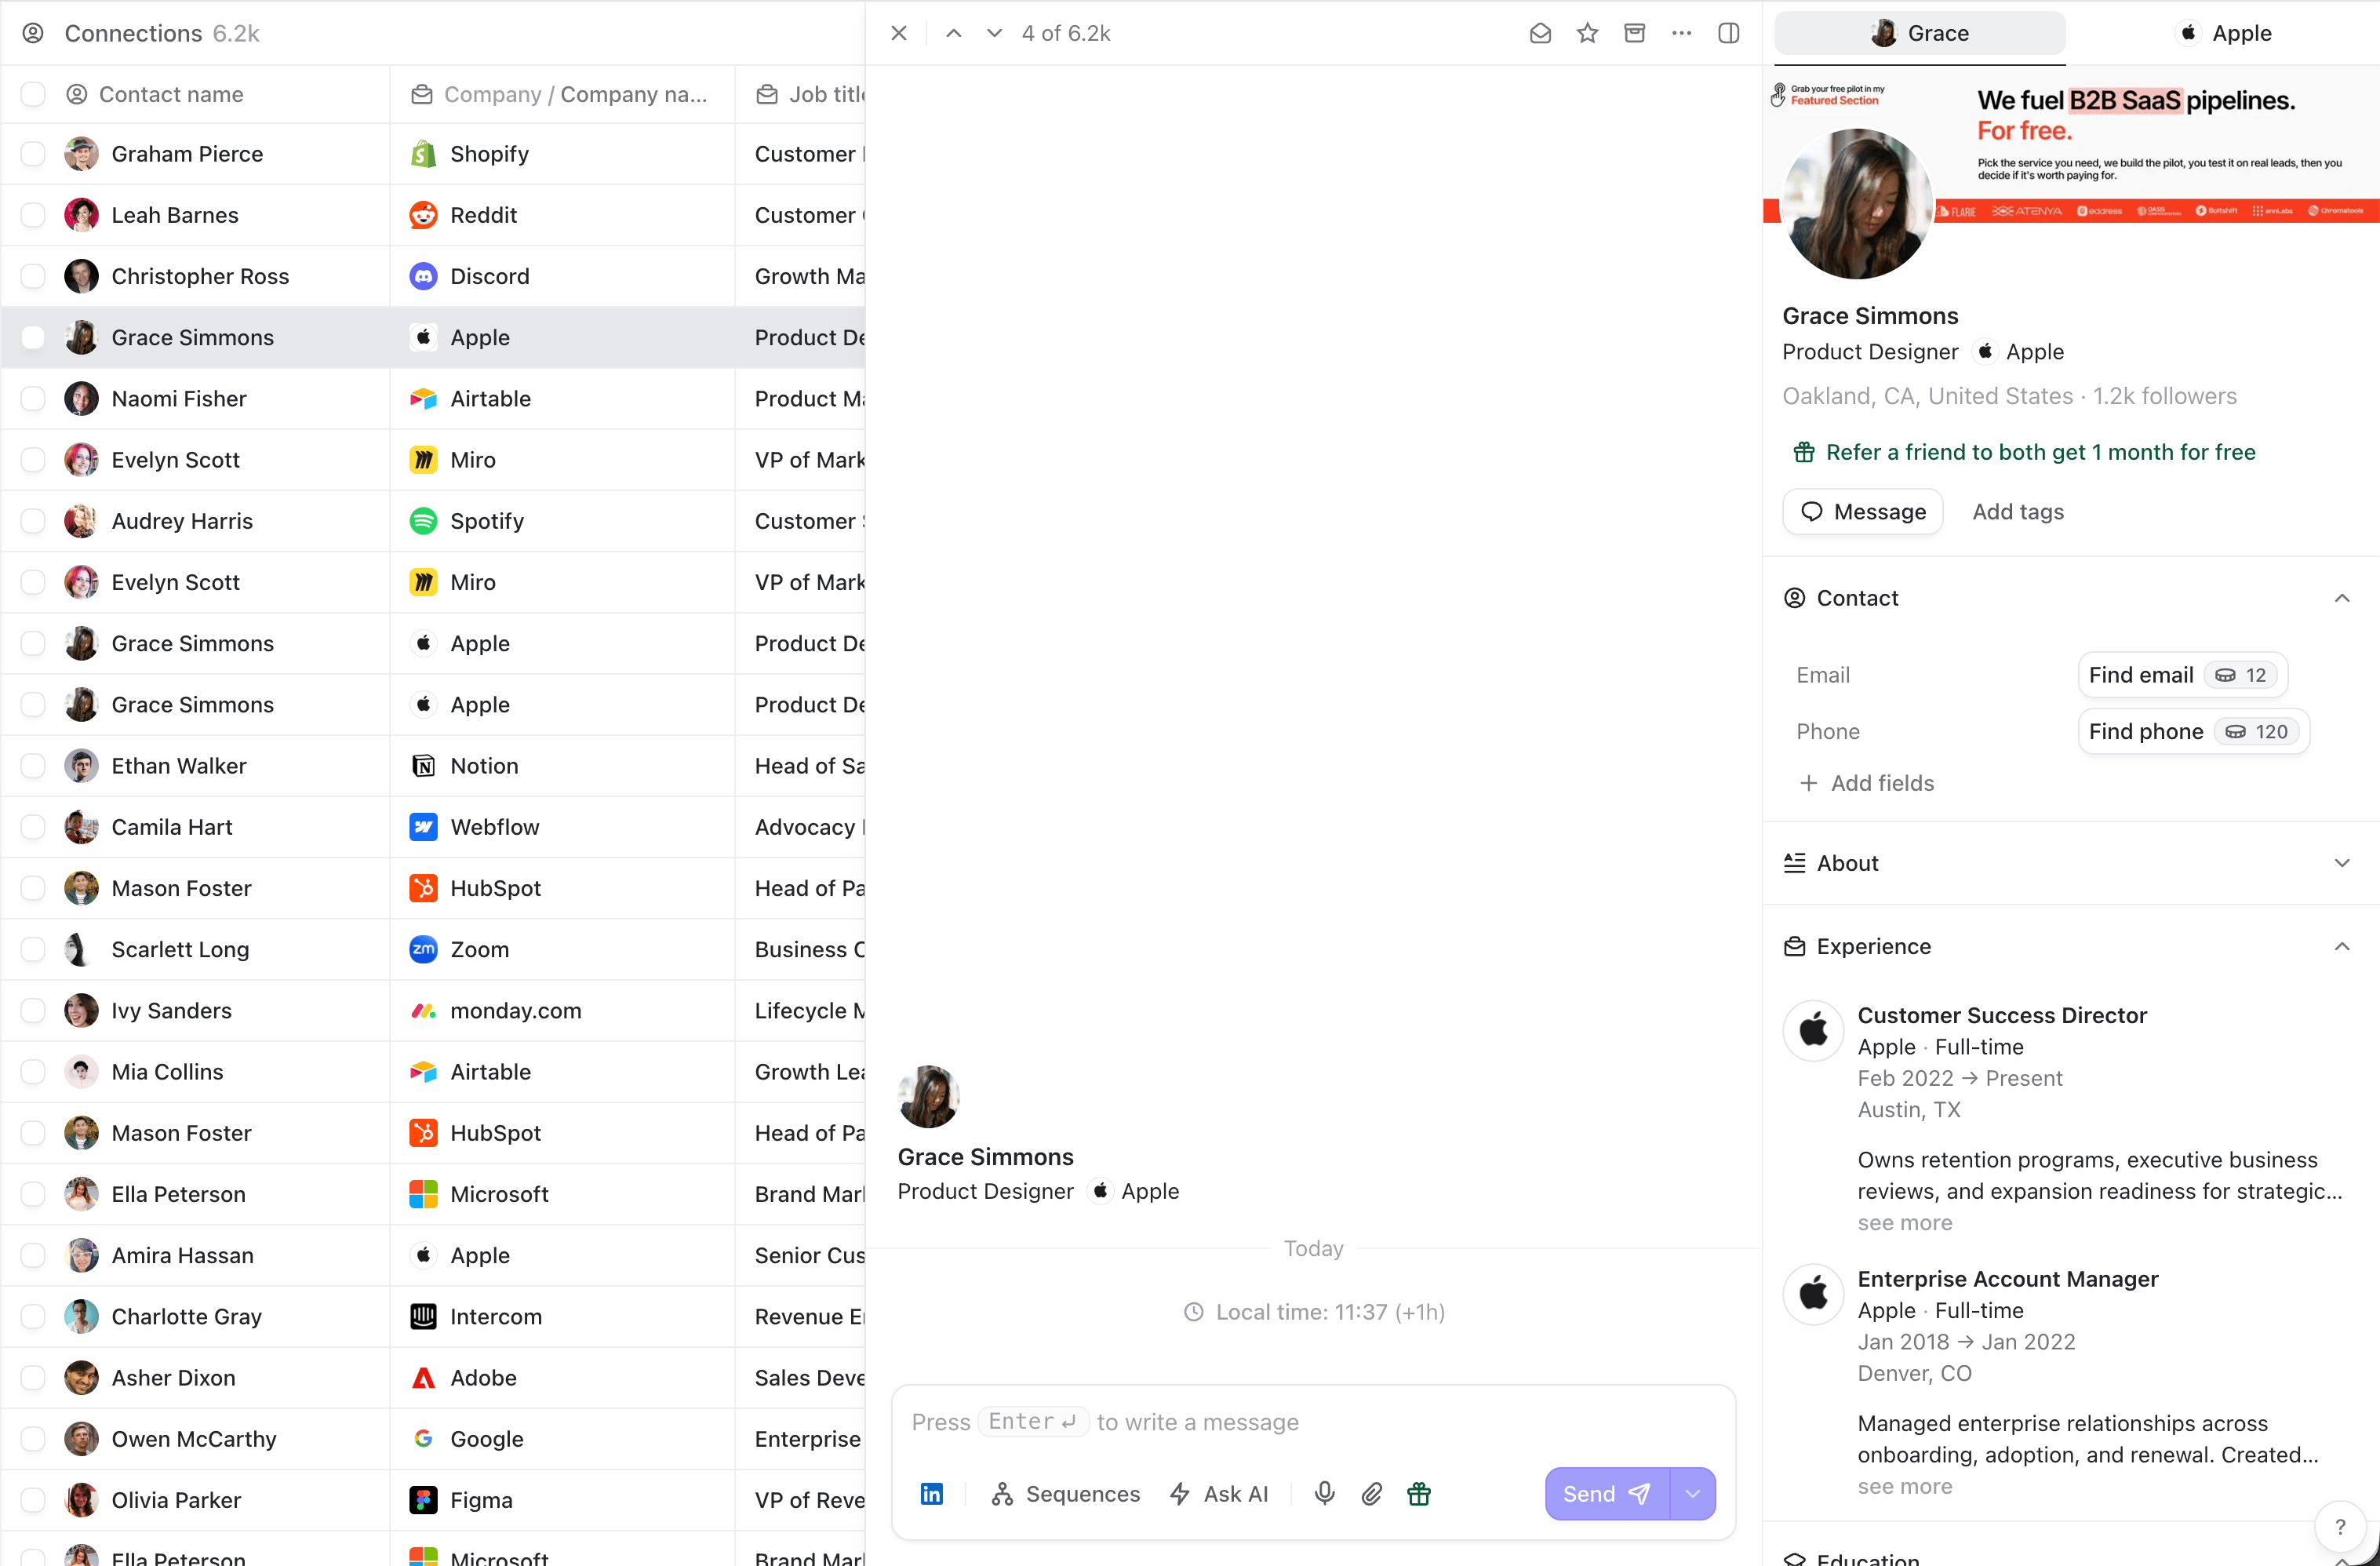
J and K, or the arrow keys to move through the results without closing the sidebar. This makes it easy to research a list, add notes or tags, review incoming invitations, and move from one person to the next.
Press Enter twice to open the selected person’s conversation when you are ready to message them.